

I think this is a pretty neat craft. I found it here, and I came up with my own version. I would recommend that you read through the whole post if you intend to make this. I came up with some improvements after making mine.
You will need:
a night light
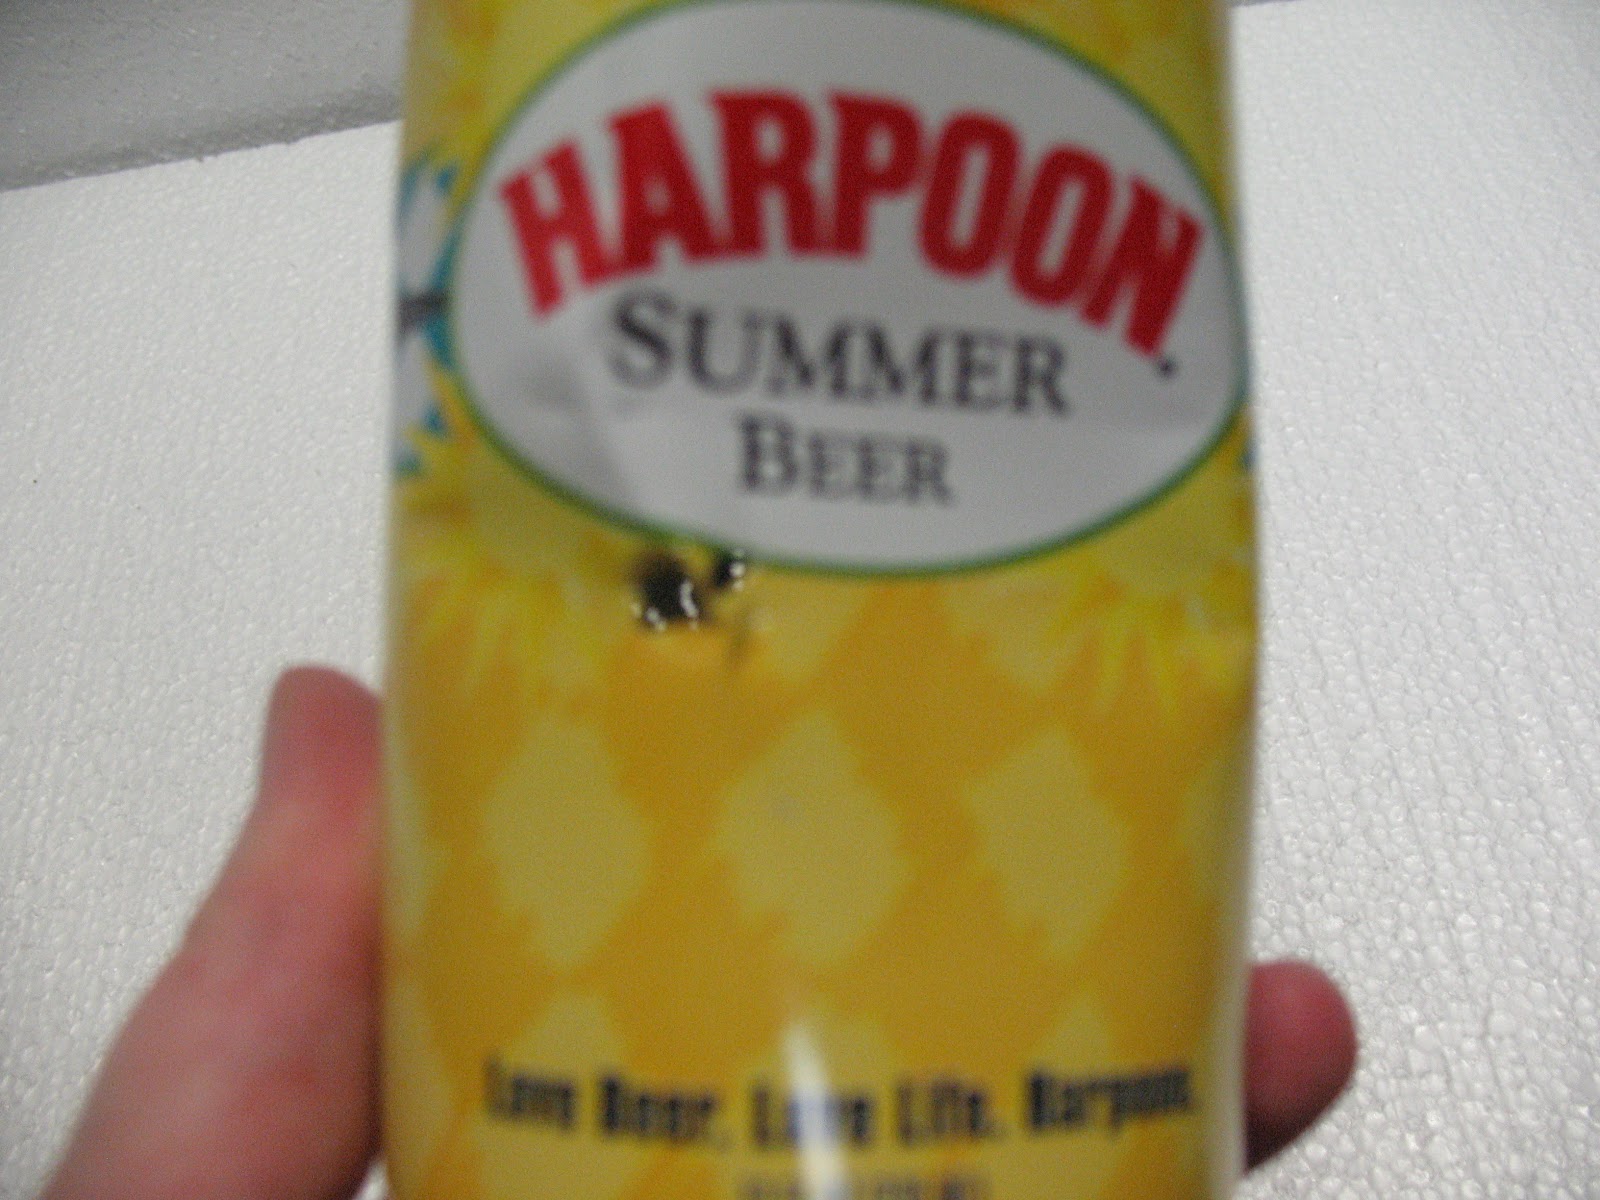
soda can or beer can- rinsed out
sharp pin (safety pin, thumb tack, sewing needle etc)
scissors

Optional
Paint
colored printer paper
template
1. Decide what design you want to light up. If you want to put in your own design, make sure the design is relatively simple as a more intricate one will not work very well. I knew I wanted a butterfly, so I went to Google Images and printed out one I liked, but was still a pretty simple design. You can get the butterfly image here.
2. If you are choosing to paint your can I would suggest you do steps 4 and 5 now. If you want to paint your can, now is the time to do it. Paint it however you would like.
3. If using words or picture on the can, just stick your pin in, on the area that you would like to light up. You will be making a whole bunch of pinpricks. You want them pretty close together, but not so close together that they will form a bigger hole.
For your own template-make sure you are happy with the size, tape it down where you want the design to be. Pin prick all the black lines. Again, you want them pretty close together, but not so close together that they will form a bigger hole.


4. Careful: Stick a scissor in the back of the can to form an opening. You will need to cut a rectangle. Throw out the piece that you just cut out. Do it right away, so nobody gets hurt, as the area will be sharp and while you're doing that make sure nobody touches the can as there will be sharp edges on the can still.

 |
| Throw this piece out |
5. Careful: Fold masking tape over on the sharp edges of the opening, so that the edges are no longer sharp.

Optional:
If you want to customize the color of your light, cut out a rectangle about the size of your picture. Put colored printer paper in the can and position it right behind your pinpricks. Please keep in mind that if your night light is more of a yellow, then placing blue paper will give you green light, not blue and so on.

Note: The tin does get hot, it would probably be a good idea to cut a hole in the front to have access to the switch without having to keep removing the can. You would do this the same way you cut the hole in the back, making sure to tape over rough edges. Also if you are painting, cut your front access hole first. Cut your access hole and then position your template.
 |
| access hole added after painting |
Please make sure you plug this in on a high wall outlet out of reach of little ones.
Someone suggested that you file down the sharp edges and spray paint the can for a more professional look, it's your choice.
6. Plug in night light and slide can over night light.


More Pictures and Coca Cola Version
 |
| This picture was taken with flash, therefore it looks lighter in the room |
 |
| Oops, I shook the camera |


The above four photos all have the same night light in them, the difference is that two of them have colored paper inside
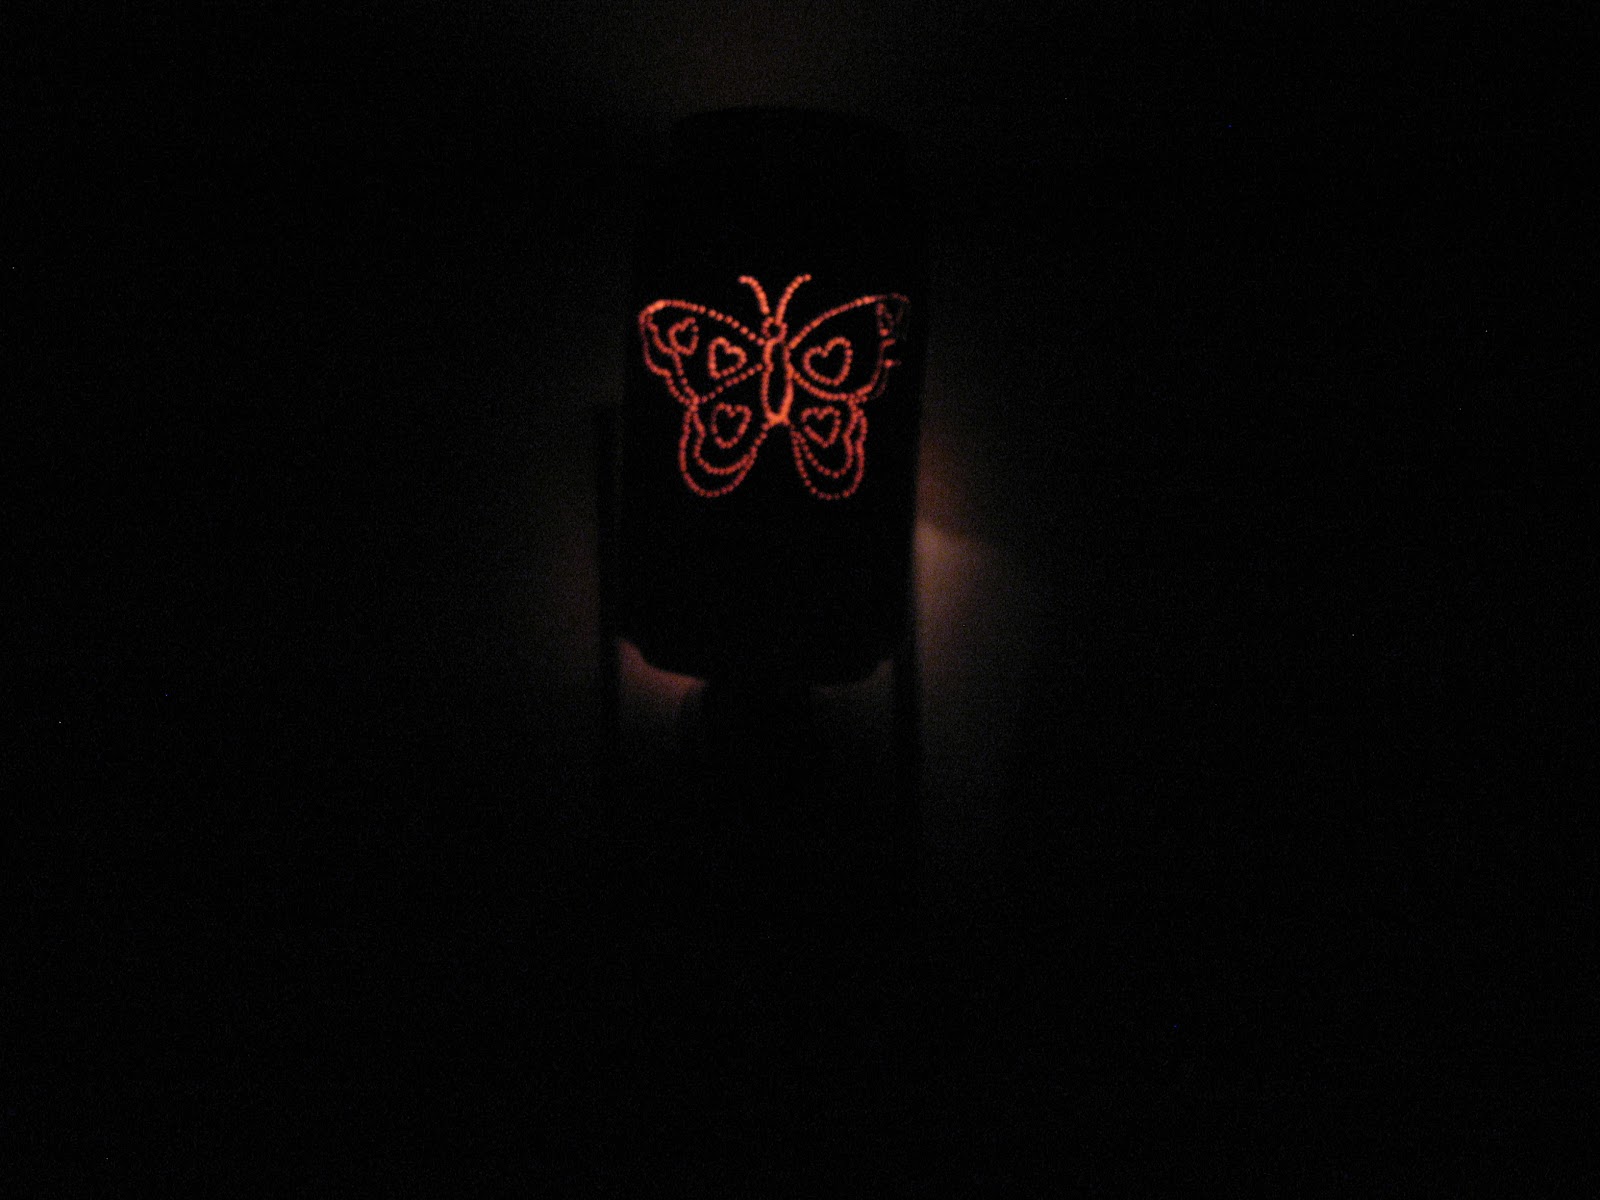
pink paper inside the can
|
| no paper |

 |
| Adorable |
|
| Lovely |
Have fun.
If you make this I'd love to see your versions.
Linking Up At
http://www.domestically-speaking.com/
http://www.thethriftyhome.com/
http://paisleypassions.blogspot.com/2011/06/thrilling-thursday-linky-party_30.html
http://sewcando.blogspot.com/
Really cute and brilliant!
ReplyDeletei read something somewhere that when you punch a tin like this, you can fill it with water first, and freeze it, thus making it easier to punch, without caving in.
ReplyDeleteThat's seems like a great idea. Thanks for sharing.
Delete