Search This Blog

Amazon Store

Translate

Follow this blog with bloglovin

Follow on Bloglovin

Monday, July 1, 2013

Firework Painting


This is a simple craft that your toddler will enjoy and perhaps even your 12 year old. It really depends on your kid, but the age range that enjoys this craft is quite broad. It's quite appropriate for July 4th or as a rainy day activity. This craft can also be used to teach about color mixing. I only used 3 colors red, blue and yellow. My colors mixed when I was blowing and created purple and green.

You will need:
plain white paper, printer paper works well
food coloring, the simple one, not the gel ones that you use for cake and cookie decorating, although if you only have the gel ones, you can water it down and use those.
A  straight straw (not bendables) for each person-you can cut it down to size if you feel it's too big.
Paper Towels
Plastic Tablecloth-you're working with food dye, there is a potential to get messy.

1. Lay your plastic down to protect your work surface. Place Paper Towel's on top of the plastic, the towels will absorb any dye that is blown off the paper.
2. Give each child a paper and a straw.
3. Place drops of food coloring on paper and let children blow them all over the paper.
4. Let dry and hang up your child's wonderful painting.

*Use Glow In the Dark Mod Podge to make it Glow in the Dark!

* You can try this with watered down paint too, although it's not been tested yet.


Blue. I used the gel food coloring, and watered it down.
But I really recommend the one you find in the baking aisle.

Red watered down

Yellow
Added a drop of red onto paper, I have way too much on my paper,
another reason I recommend the other type of food coloring
Used a straw and blew it all around on the paper
Added blue, I did one color at a time, but you can add all the colors at once
Final Masterpiece.

I used glow in the dark mod podge, but that just makes the paper glow, not the fireworks. I recommend using this paint and watering it down for a glow in the dark firework painting.


*Please note that you can now find my blog on bloglovin due to Google Reader closing.


Thursday, June 27, 2013

Chocolate Larabars

Originally I was going to call these Larabar Brownies. Okay they're not Larabars and they're not brownies. Now you're thinking what a misleading title. They remind me of Larabars in terms of ingredients and looks.  As soon as I taste it, I'll let you know how it fares in the taste department. I like Brownies, never really had a Larabar that I liked, they're just okay.

Raw Brownie or Chocolate Larabars Recipe

So they don't really meet the tastes like Brownies claim, but they're not bad. Picky eaters are likely to hate it, at least that's how it went down in my house. Would I make it again? Yes, but not as a brownie substitute. One kid asked me if it was cake. So in the looks department, I guess it worked, although it doesn't quite look right. Maybe this kid is just used to seeing strange food. He did make a comment later that he didn't care for them. Taste wise not so much. They're good, but they're not a brownie.
My notes on this one are: If you're not used to baking with dates, there are pits that need to be removed. I sopped up extra oil on top probably from the dates with a paper towel.


Monday, June 24, 2013

Homemade Stir Free Peanut Butter

I have an issue with natural peanut butter. That glob of oil on the top, yeah gross. Now try stirring it. It makes a mess whenever I do, and the bottom is really dry. I read about making my own peanut butter over at Averie Cooks. It didn't seem to hard, plus we had peanuts in the house that no one was eating.  The difference between the peanuts I used was that they were dry roasted in the shell peanuts and Averie used honey roasted shelled peanuts. I'm going to describe my experience using the peanuts in the shell, of course if you want you can also use shelled like Averie-will probably be much easier. All the work's in the shelling.

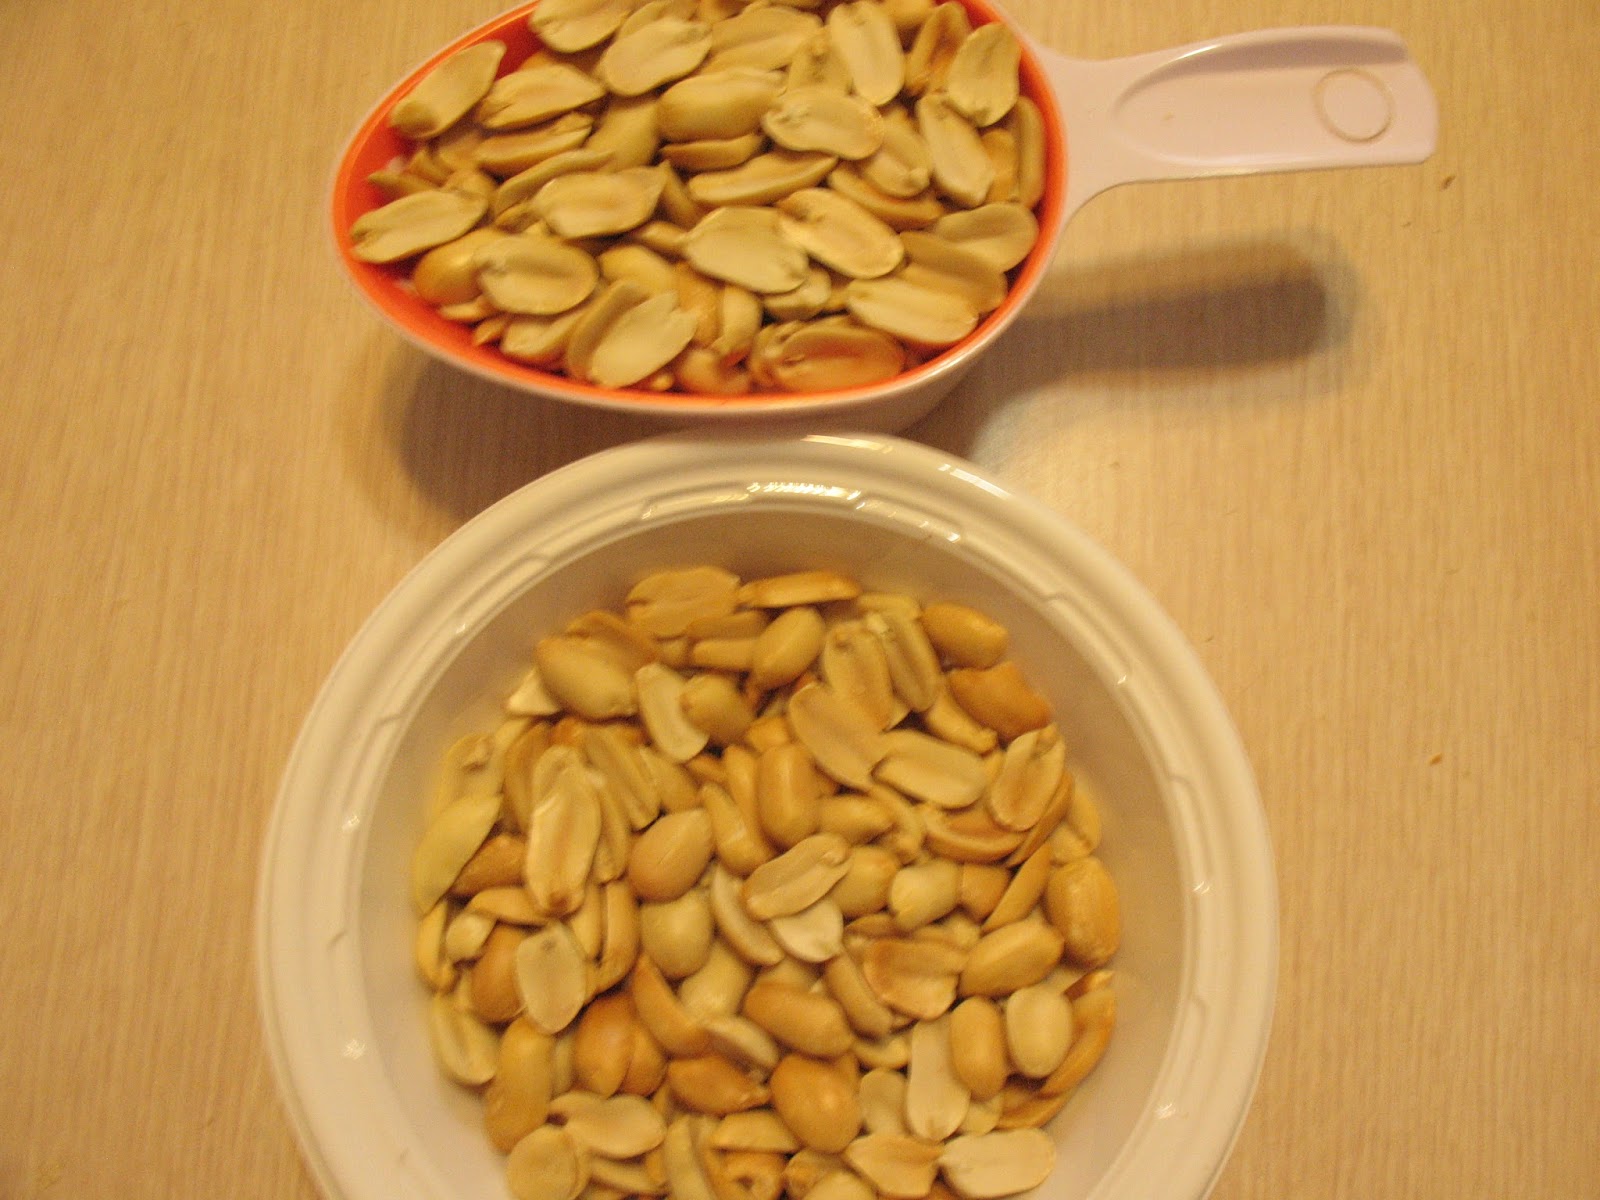
Shell 16 ounces or 2 cups worth of peanuts. I don't have a scale, so I used measuring cups. You want to remove the papery skins from the peanuts too, they usually come right off, but if they give you trouble, jut roll between your palms.
Shells from peanuts


You don't want peanuts that look like this:
Toss these peanuts


Peanuts that look like this are fine:


Peanut Color Palette:
The first 2 are okay, toss peanuts of the last color
Peanuts for the peanut butter


Measuring out the peanuts

2 Cups worth of peanuts


Then place in food processor and scrape down if needed, I didn't have anything to scrape down. I took around 5-7 minutes to become peanut butter. You can add your own flavorings in the last minute of processing. I didn't need to add oil.
in the food processor

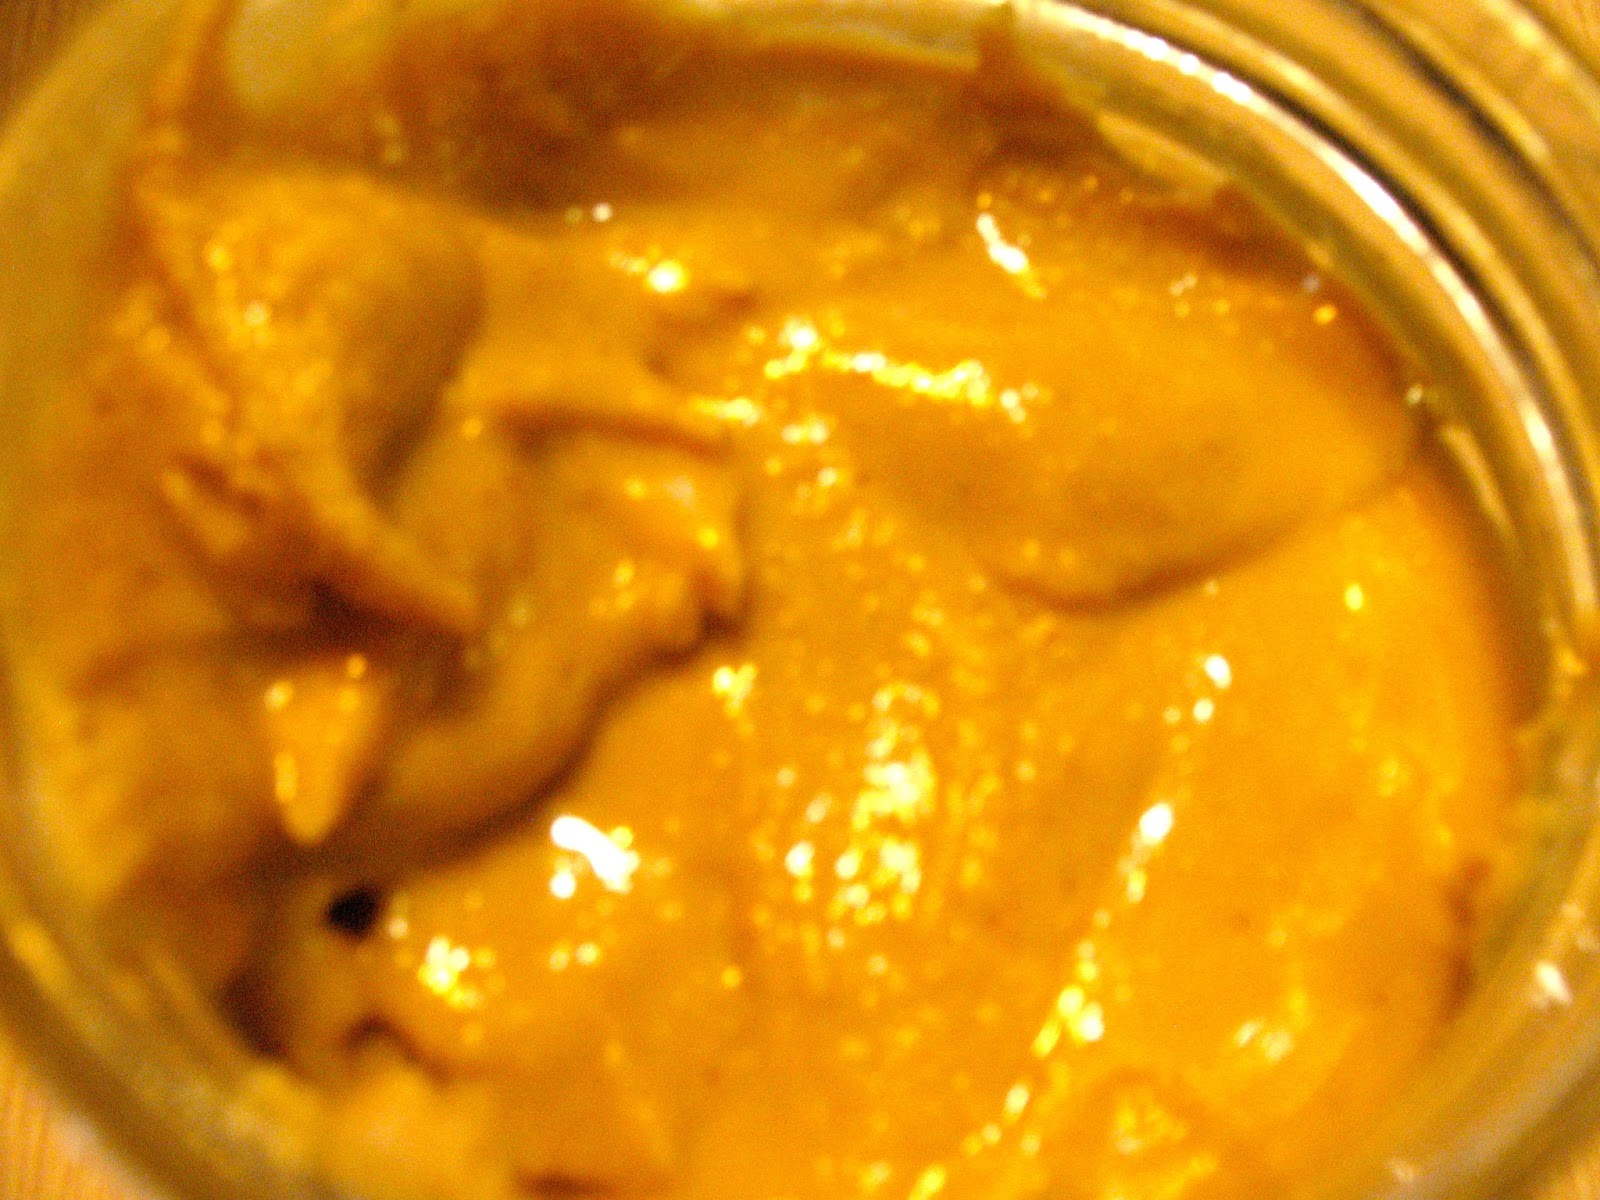
Place into glass jar and refrigerate.


I got the same results, mine is a stir-free peanut butter.

Wednesday, June 19, 2013

Applicious Glossy Lip Balm

NYC Applicious Lip Balm


I received Applicious Glossy Lip Balm from Influenster Spring Fever Vox Box Program and it's really a cute little balm.

Pros: It has this cute apple shape in the middle. It adds a slight tint of color. The color is great. It has a fruity smell. It doesn't smell like apples. I think the smell is fine, I'm not one of those who loves the smell or hates it. I'm kind of neutral about the smell.

Cons:  I don't really like the sticky feeling and don't feel that it does a great job at moisturizing. It also doesn't live up to it's claim that it's glossy. I find that it doesn't last for more than a few hours. I've only used it alone and never in combination with other lip products, so I don't know how it would stand up being used with other products. It works for a quick boost of color to my lips for a casual look.

Many people have liked it this lip balm, so you might want to try it for yourself.


I received this lip balm complimentary from Influenster as part of the Infleunster Spring Fever Vox Box program, all opinions are mine and are completely honest.


DIY Dollhouse:Cardboard

Cardboard is amazing. When you buy a toy, for a child, often it's not the toy that catches the child's attention, but the box. The larger the box the better. Remember when either Land's End or LL Bean capitalized on that idea and the merchandise arrived in white boxes with pictures that kids could color on. I don't know how that helped them, but I do know it they don't ship items in those type of boxes anymore. Perhaps, because the creativity aspect that kids have is lost. Here's an idea that uses boxes and still retains a creative aspect whether for you or your child.

The main item you need for this craft is a cardboard box, instead of sending it out to recycling, turn it into a dollhouse for your girlies.


Cut off the other flaps (leave one long flap for roof) and save it to create a second floor.

Lift up one flap to create a roof.

Tape the long flap on a slant to create a roof. Use the other flaps to create the triangles.


You can use brick-like paper for the outside or you can have your child paint it.

Cut out a rectangle on 3 sides for a door. You can use a bead for the knob.

You can cut out rectangles, squares or an assortment for windows. You can use sheet protectors or acetate for the windows.


Be creative.

For the inside:

You can put one on of the cardboard flaps for a second floor.

You can use scrapbook paper for the walls, many carpet places will give out outdated carpet samples, these usually only work for very small spaces, unless you want to use it as a rug.

Decorate in your own style and I would love to see your creations.

Monday, June 17, 2013

Local Park Obstacle Course


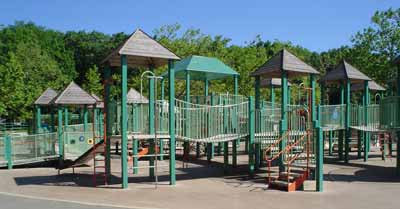
Playground via Google Images

We all know of people who are best of friends and each other's worst enemies-right?

However, preschool aged children still need to have stimulation and sometimes an adult intervening in such situations.
A great way to limit these fights, is by creating an activity that gets out their energy, is done together as a team, and most importantly they have fun. When taking to children to the park, and you have boundaries on what areas they can play in, take that entire area and make it into an obstacle course of your own. This requires imagination-no materials once you are already in the park and of course it's free-thats the best part! :)

Here's an example:
Go up the round ladder, down the straight slide, run all way to the steps at the other other end, down the short slide, up the steps, and down the curvy slide (this is the one an adult is standing by). Halfway coming down the slide, give the child an high five or tickle them. Every so often change it up so it becomes unexpected. You can also pretend to pull your hand away as if you don't want the high five, this way the kid will keep doing the obstacle course and trying to get your hand. (If this is what you choose to do, keep a keen eye on the child/ren doing the obstacle course and make it clear you may only get a high five if it is done properly-this may sound strict, much to surprise when it was experimented on children aged 5 they thought it to be really funny!)
Sounds confusing, no? Do it like that the first time because the kids get so confused and for some unknown reason they are amused by it.
Make sure the child/ren understand what they need to do. If not, repeat it with hand motions and change your voice but remember to stay pleasant and calm. You can say it up to three or four times stressing what they should do and EACH time tone changes, kids will laugh.
I did mention that this will limit fights and not END them. If this system is not working, have child/ren start at opposite ends meet in the middle and High five each other before giving you High-five. 
Depending on the child/ren, you need to play the part of high-fiving them. Although you may not seem to be doing much, YOU are there at the end of the course and they believe you are playing with them. It's similar to the light at the end of a tunnel. It's a goal, there are not just running around in circles, with no purpose.
Another advantage is, other children can join in at any time.
Happy coursing!

-Nechama

Monday, April 15, 2013

Healthy Smoothies

Usually people talk about smoothies in the summer time. Everyone knows that smoothies are great after you've had oral surgery when you can only eat smooth, or soft items. After mine I actually stuck mostly to vanilla Greek Yogurt. But I believe smoothie should be for anytime, they're pretty easy to whip up and healthy too. If you go to a store and pick up a smoothie, it will often contain ice cream and milk. Yep, one of my favorite smoothies from a local store is strawberry and it is not cheap. I finally wised up and watched them make it. About 3 scoops of strawberry ice cream and a splash of milk all blended up for a medium smoothie or small (it only comes in medium and large). I was like that's it. I could make that myself.

While I like the convenience of buying, I like to know what's going into my food. I'm trying to eat healthier and knew I wouldn't want to buy a smoothie after my oral surgery. I found quite a few healthy smoothie recipes online and ended up using none of those. Some of them had tofu or other weird ingredients in them. Okay tofu is not really weird, but I try to stay away from soy type products. Although there are instances where I will use those ingredients, I might even do a post about certain instances. Basically I felt it was unnecessary in a smoothie.

I made my own smoothie recipe and hoped it would work.

Mixed Fruit Smoothie

1 plain Greek Yogurt*
frozen mixed fruit (it was approximately a cup)
honey to taste**
splash of nonfat milk

I blended it all together. I did have to open the lid of the blender a few times and push the fruit to the bottom, so it would get blended. I'm wondering if I partially thawed it, if it would have worked a little better. 

Mixed Fruit Smoothie

Chunky Mango Smoothie
1 plain Greek Yogurt
Frozen Mango (approximately a cup)
honey to taste (optional)**
Splash of nonfat milk 

Blend it all together. Some pieces didn't get blended, that's why this one is called chunky, if you want it thinner add more milk.


*I think other flavors would work, although I would leave out the honey if using other flavors.
**Depending on the fruit and yogurt you're using, you might not need honey, I find the plain yogurt needs a little sweetener for my taste, so I added honey and this way I'm in control of how much sweetener is added.


Chunky Mango Smoothie

Follow this blog with bloglovin

Follow on Bloglovin
Related Posts Plugin for WordPress, Blogger...